The (semi) age-old question of printing with full bleeds in office programs. We break it down, so you look like a graphics pro.
In almost every case, and with every program, when you print a document, it contains print margins. Even if you have taken the design to the edges on your computer screen, there will almost always be default white space where your design does not print.
This white space is great when printing a text document as it provides a frame for the words. After all, the majority of office printing/documents are manuals, presentations, forms, proposals, etc. which require some margin. However, this can be troublesome when you start getting into more graphics-heavy documents designed to the edge.
When is full bleed printing needed?
If you’re printing a poster, a photo, or making a business card, for example, you might want to print to the very edges of the page. Edge-to edge-printing, or borderless printing, is called ‘full bleed’ printing. The ‘bleed’ refers to the slight overlap of the printed area beyond the edge of a printed page, and it ensures there is no white space around the edges. With full bleed printing, whatever you want to bleed must be positioned past the document edges.
While Graphic Designers and Marketers have access to advanced graphic design programs, like Photoshop or Illustrator, the average employee uses office programs such as Microsoft Word, Google Docs, or Pages. So how is full bleed printing achieved in simple desktop programs?
Step 1: Determine if your printer is capable of edge-to-edge printing

1. Change the margins within Word
The default margin in Microsoft Word is one inch all the way around your document. You can change this default setting to reduce or eliminate the amount of white space on your page by:
- Clicking Layout > Margins > Custom Margins.
- Changing all the page margins to zero.
If after changing the margins, Word margins display a warning telling you that one or more margins are set outside of the printable area of the page, click Fix to have Word override your zero margins with the minimum allowable for your device. If you click Ignore, Word won’t change the zero values, and any content in the non-printable area will not be printed.
If your printer is capable and set up correctly, your document will print across the full width of the paper.
2. Change the settings of the printer
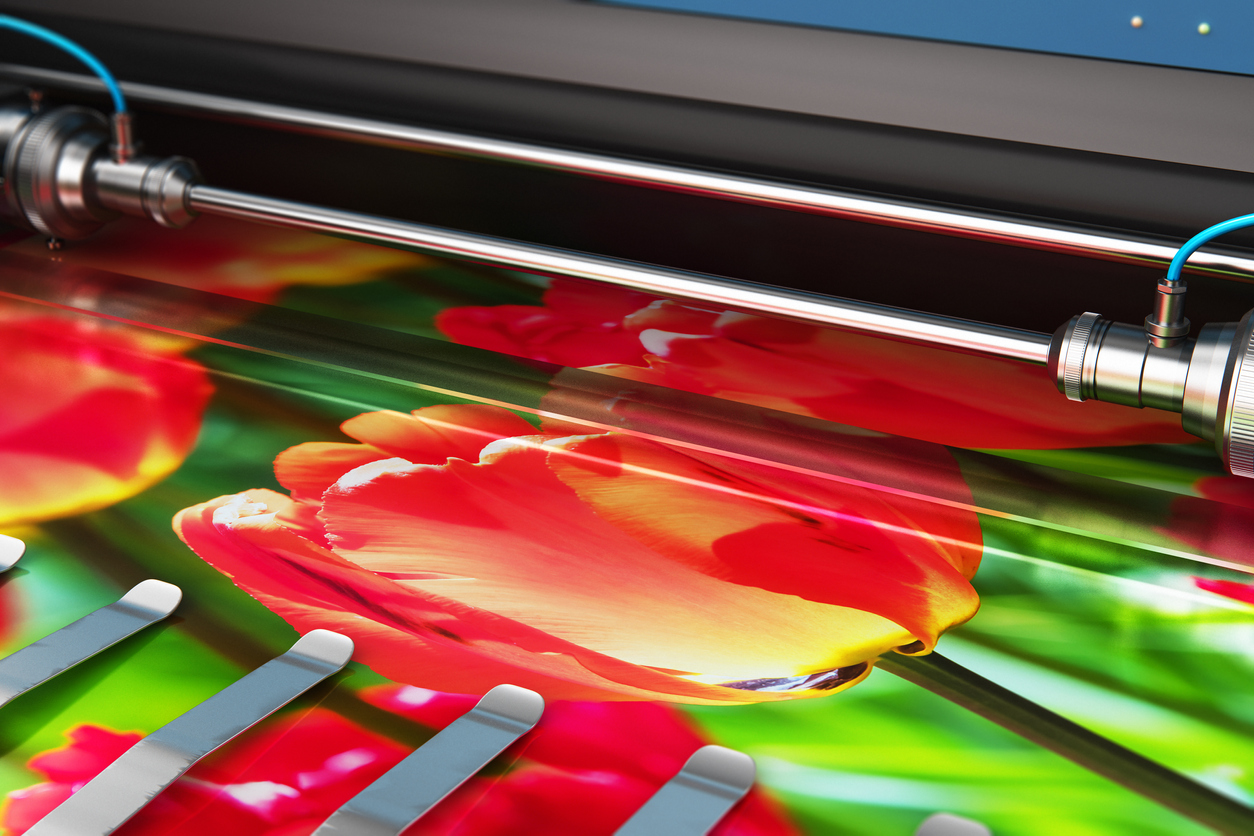
Typically, only large digital press printers using rolls of paper can print right to the edge. Most MFPs are not actually capable of printing to the edge of the page since the machinery requires a small amount of space to help feed the paper through the paper path.
To see if your printer settings can be changed to accommodate full bleed printing, follow these steps on your computer:
- Startup Menu > Devices and Printers > Right-click on the printer icon.
- Choose Printing Preferences from the pop-up menu.
- Look for an option called Layout or Page Layout.
- From here, you should have the option to set your margins to zero manually.
For some printers, you may need to find an Advanced Setup screen to get to those settings.
Many printers do allow edge-to-edge printing though, such as the wide-format Canon imagePROGRAF iPF610, but it’s not as common of a feature in desktop printers.
There is, however, a workaround to enable you to print a full bleed document with Word even if your printer does not support borderless printing.
Step 2: Print on a larger size of paper than you need the final document to be
The secret to printing full-bleed documents in Word when your printer does not support edge-to-edge printing is to print a larger size than you need. Then you can trim the document down to the required size.
Word, Google Docs, and Pages each have their own settings to do this, and they’re pretty similar. Creating your design for full bleed in:
1. Microsoft Word
When designing for full bleed, the design must extend beyond the size of the document required. Usually, this means extending the size, and design of the document by ⅛” on all sides. The ⅛” extension will not be in the final product. Instead, it compensates for minor inaccuracies of the printing, trimming and folding to ensure that there is no unprinted white paper on the edges of the finished pieces.
In Word, you must define a new set of paper settings to create a larger size document. Here’s how:
- Go to File > Page Setup.
- In the Paper Size dropdown menu, select Custom Paper Sizes.
- If you want to print, for example, an 8.5″ x 11″ document with no margins, your designed file must be larger, e.g. 8.75″ x 11.25″ which has the additional ⅛” around the document.
You can then create your design, working to the edges of the page, but ensuring there is no critical information in the ⅛” around the edge as this will be trimmed away.
2. Google Docs
- File > Page setup > Paper Size.
- Choose a size that is larger than the size you need to print, e.g. if you want an 8.5″ x 11″ document, choose paper size B4 (9.84” x 13.90’)
- Use the margins to create a print area with at least a ⅛” bleed, e.g. set the left and right margins at 0.545” each and the top and bottom margins at 1.325” each. This will give you an 8.5″ x 11″ documents with a ⅛” bleed all around.
You can now create your design to the edge of the set margins, ensuring no critical information is contained within the outer ⅛” as this will be trimmed.
3. Pages
- File > Page Setup > Paper Size > Manage Custom Sizes.
- Click to add your custom size – it will now be called Untitled in the list.
- Click Untitled and type a name for your custom size.
- Define the Width and Height in the corresponding fields.
- As with Word, if you want to print an 8.5″ x 11″ document with no margins, your designed file must be 8.75″ x 11.25″ to ensure a ⅛” bleed zone all around the document.
- Click OK.
Step 3: Add trim marks to your document

What are trim marks?
Trim marks, sometimes called crop marks, are lines, almost like cross-hairs, that are printed in the corners documents to indicate where to trim the paper. Commercial printers regularly use them for creating bleeds where an image or colour on the page needs to extend to the edge of the paper.
Trim marks can be added to Word by following these steps:
- Select File > Options.
- Select Advanced in the navigation pane on the left.
- Scroll down to the section ‘Show document content’.
- Tick the checkbox ‘Show crop marks.’
- Click OK.
However, these trim marks cannot be printed.
Most of the established publishing software programs can add crop marks to any digital file, including those from Adobe Photoshop, Illustrator, InDesign, CorelDRAW, QuarkXpress, and Publisher. However, Word, Google Docs, Pages etc. do not allow you to print trim marks. Instead, you would need to manually measure the final printout to trim ⅛” off each side if you are printing directly from either of these programs.
But isn’t there an easier way?
Step 4: Export to PDF to print crop marks
Instead of printing directly from Word, Google Docs, or Pages, you can export the document to PDF which will allow you to print crop marks, making it much easier to cut your image to the correct size.
How to convert a Word doc to PDF
- Choose File > Export and select the Adobe PDF Format of ‘High-Quality Print’ (which is the most suitable for printing on an office printer vs. a commercial printer).
- In Marks and Bleeds, select Crop Marks, and Use Document Bleed Settings – ensure they are set to ⅛” (0.125 in) all around. Click Export.
This will provide you with a printable document with images extending ⅛” than the required size on each side, and trim marks indicating where to cut the page for a full-bleed printout.
In Summary

Ultimately, programs such as Word, Google Docs and Pages are not intended to be used in the same way as graphics programs like Photoshop. Word is a text-based program first, but naturally, people want to be able to use it for more. If you find yourself needing to print full-bleed from a word-processing application, and do not have a printer that is capable of doing so, this workaround will be able to provide you with a finished, full bleed printed document. Albeit a few extra steps are required to print your final document than would be needed if your printer was capable of printing full bleed!
Intend on doing lots of full bleed printing? Contact us to learn about the best options for your business.

